Re-sizing a Full-Size Surfboard Template
It is easy to proportionally re-size a full-size surfboard template and maintain clean curves that are derived from the original template shape. It can be done by hand and with "simple" math. You can re-size a template with nothing more than a framing square, a pencil and a batten or a large curve. It can be done on the floor of a porch, kitchen or garage. While a calculator is easier, you do not need one to do basic math.
For a directly proportional re-size, the new dimensions must vary precisely. The aspect ratio must be locked. Width changes by the same proportion as length. With aspect ratio locked, a 20" x 72" shape that is re-sized to be directly proportional increases to 21.66" x 78" (light blue ellipses below). This represents a 0.277" increase of the maximum width for every 1.0" increase in length. However, length and width can be re-sized independently of one another to create a desired combination of length and width (aspect ratio unlocked).

Somebody might specifically want a 5'10" Takayama Scorpion shape that is 23" or 19.25" wide rather than the original 21.25" width. The proportional math method discussed below maintains the basic shape while varying one dimension with the other dimension (width or length) remaining fixed. Curve "steepness/flatness" (slope) of the planshape outline is definitely altered by changing one dimension while the other remains fixed. But the curve's slope changes are still in the same position relative to the original shape/template. This method can also be a good way to evaluate the effect that varying one dimension has on surfboard performance, while the other dimensions remain fixed. But, both length and width dimensions can be altered independently for a template also.
To re-size a full-size template, first divide desired length or width by original template length or width, respectively. In this example, the objective is to increase template/surfboard width from 21" to 23". Divide 23" by 21". This gives you 1.095. The measured widths of the Lis Fish template below (Figure 1) are at 6" intervals. Now multiply each of these widths by 1.095 and you have the new widths for the same 6" intervals. To decrease template width from 21" to 19" divide 19" by 21". This gives you 0.905. Now multiply the original widths by 0.905 and you have the new narrower widths for each of the original 6" intervals. For either, plot and connect these new width points with a smooth, continuous curve. You could use the old template or a flexible strip/batten to draw the curved outline.
Fig 1. Lis Fish templates: original width (21 inches), wider (23 inches) and narrower (19 inches). All three are the same length.
Fig 1. Lis Fish templates: original width (21 inches), wider (23 inches) and narrower (19 inches). All three are the same length.
To increase template length from 65" to 74", divide the new length (74”) by the original template length (65"), 74/65 = 1.138. The original template widths will now be placed at 6.828" intervals (1.138 x 6") instead of the original 6" intervals. To decrease length to 56", divide the new length by the original length (56/65 = 0.862). Now place the old template widths at 5.172" intervals (0.862 x 6") instead of the original 6" intervals. Again, plot the points and connect them with a smooth, continuous curve (Figure 2).
If you plan to change both width and length for the new template, it is easier to calculate and plot the new length intervals first.
Fig 2. Lis Fish templates: original length (65-inch), longer (74-inch) and shorter (56-inch). All three are the same width.

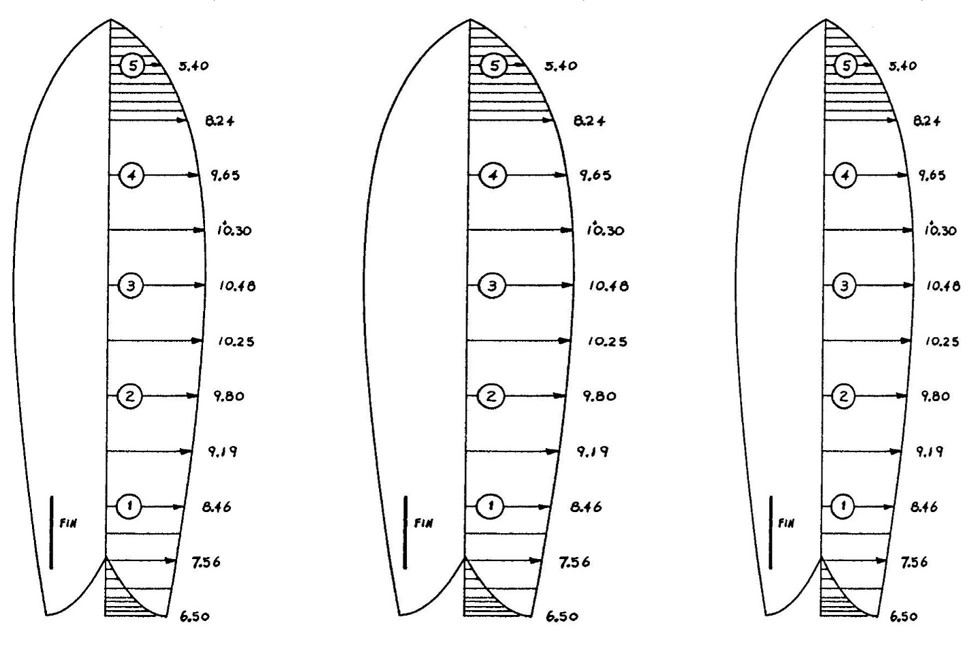
To improve nose and tail shape resolution, you can measure template widths at 1-inch intervals for several inches (Figure 3 at bottom of page) -- starting measurements from the template tips (nose and tail). Similarly, rather than using 6-inch intervals to measure the original template widths, you could use 2- to 3-inch intervals. Whatever length interval suits you. The closer together the width measurements are, the better the shape resolution will be overall. These new intervals will be increased or reduced to increase or decrease template dimensions using the same method described above.
One good template can be used to generate many different combinations of length and width. By varying one dimension at a time, it is fairly easy to evaluate the effect that changing one variable has on a shape's performance.
["If" you want to maintain the same rocker curve -- curve slope (steepness/flatness); tangent angles relative to given points -- you have to multiply the rocker heights by the same proportion that the length changes. Otherwise, the rocker curve slope becomes steeper or flatter; bottom angle relative to the water surface changes and is different. But, maintaining the same rocker curve slope may not be well suited for the new length.]
Moving the widepoint of a surfboard template would use a variant of this method. Discussed at the following link:
Surfboard Design Blog Directory


Thank You Bluegrass Board Building. I've been imagining a short diamond tail but not knowing where to make a solid start. This post has put a lot more light on that task. Thanks again. Steve.
ReplyDelete